Only 60 Days Until Christmas!
 With Halloween only a few days away, it's hard not to think ahead and realize Christmas will be here before we know it! If you're one of those who loves the holidays and can't wait to get started on Christmas crafts and handmade gifts, here's a project for you to try-- an adorable Christmas star wreath from Kaisercraft.
The wreath is comprised of wood stars, ready for you to personalize to create your own special keepsake.
We couldn't wait to try this project ourselves! Here's what we did. The stars are packaged so two stars are attached together with thin wooden strips. Using very gentle pressure, we broke the thin strip so each star was separated. To smooth the edge and remove any evidence of the wood strip, we sanded each star.

Then we inked the outside edge and top edges of each star with brown ink.

Using each star as a template, we traced around each and cut the paper just inside the pencil lines.

This step was repeated for each star and the papers were adhered to each star. For two stars, we used photos rather than paper. Double sided paper works great for this project since the colors on each side are typically made to coordinate. Once all the stars were covered, the stars were assembled and adhered to the wood circle base. A liquid adhesive works well to assure the parts stay together. If you'd like a hanging loop on the back of the wreath, attach it to the wood circle base prior to gluing the stars to it.

For six of the top stars, we added jingle bells. To do this, we punched holes in the stars with the Cropadile.

We put ribbon through the holes and tied a bell to the top. Back of star:

Front of star:

The completed project!

Hope you'll give this fun project a try!!
 Here's what you'll need:

 One of this beautiful blue:
 One round paper:
 And a package of these coordinating fabric flowers:
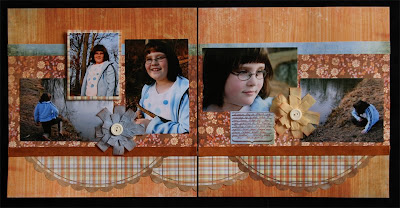
 Let's get started. First cut the floral paper in half, leaving you with two 6 x 12" strips.

 From the blue paper, cut two 3/4" x 12" strips. Remove flowers from packaging. Cut two 12" lengths of suede-look ribbon. Stamp blue paper with journaling template stamp and cut out.